Wipe Mods Safely: Preserve Your Progress
Author : Olivia
Apr 21,2025
Mods can significantly enhance the gameplay of *Ready or Not*, offering new content and features that can breathe fresh life into the game. However, they can also introduce instability, errors, and prevent you from playing with friends who don't use mods. If you're looking to remove all mods from *Ready or Not*, here’s how you can do it effectively.
How to Remove Mods in Ready or Not
Regardless of whether you've installed mods manually, via Nexus Mod Manager, or through mod.io, the process to delete them is straightforward. Follow these steps:
- Launch *Ready or Not*.
- Unsubscribe from all mods using the in-game Mod Menu to prevent them from redownloading after deletion.
- Close *Ready or Not*.
- Open Steam, right-click on *Ready or Not* in your Library, and select Properties.
- Go to Installed Files, then click Browse to access the game’s folder.
- Navigate to *Ready or Not* > Content > Paks. Delete all files within the Paks folder, then delete the Paks folder itself.
- Press Windows+R, type %localappdata%, and press Enter. Locate the *Ready or Not* folder, go to Saved > Paks, and delete this Paks folder as well.
- You've now removed all mods from *Ready or Not*. To ensure no bugs remain, right-click *Ready or Not* in Steam, go to Properties > Installed Files, and select Verify Integrity of Game Files.
- If you don't plan to use mods again, consider reinstalling the game for a fresh start, though this step is optional.
For more troubleshooting tips, check out our guide on How To Fix 'Serialization Error Action Needed' in Ready or Not.
Why Should You Delete Mods in Ready or Not?

Additionally, mods can restrict multiplayer compatibility. If you wish to play with friends who are new to the game or don't have the same mods installed, you'll need to remove your mods to join them in gameplay.
*Ready or Not* is currently available for PC.
Latest Articles
"Star Wars Outlaws: A Tribute to Hondo Ohnaka's Pirate Legacy"
Star Wars Outlaws received its first story expansion today with the launch of the A Pirate’s Fortune DLC on PlayStation, Xbox, and PC—and fans owe it all to one clever scoundrel: Hondo Ohnaka.According to Drew Rechner, Creative Director at Ubisoft’s
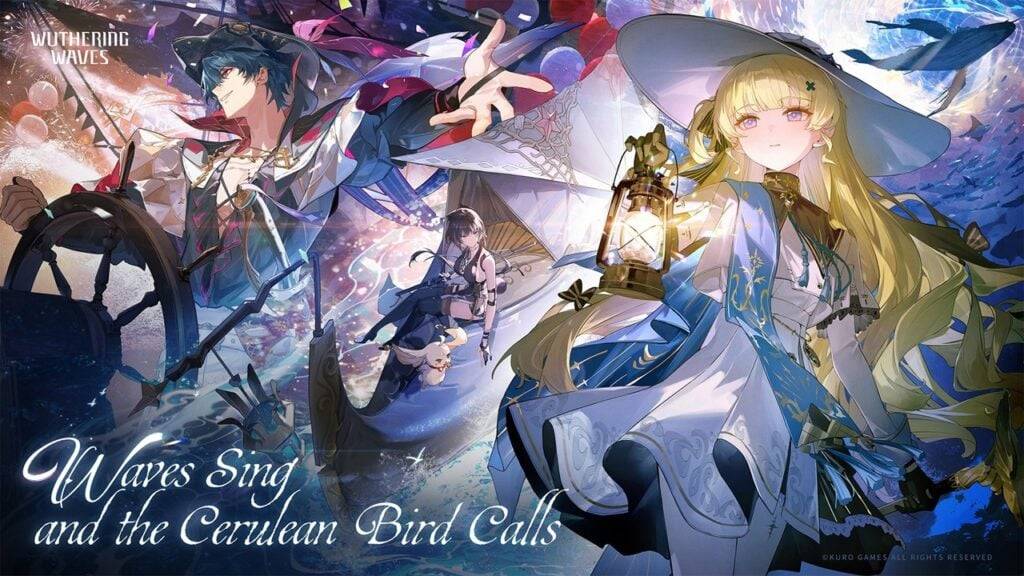
Wuthering Waves 2.1 Phase II: New Banners Detailed
Wuthering Waves launches Phase II of its Version 2.1 update on March 6th, packed with new events, Resonator and weapon banners, and plenty of rewards to claim. Here's everything you need to know.What’s Happening?The companion story "Sail Day, Captain
Rian Johnson Reveals He Never Made an Outline or Treatment For His Star Wars Trilogy: 'All Very Conceptual'
You're absolutely right — Rian Johnson’s potential Star Wars trilogy was one of the most tantalizing "what ifs" in modern sci-fi fandom. The idea of Johnson, the mastermind behind Knives Out and a filmmaker deeply committed to emotional storytelling,
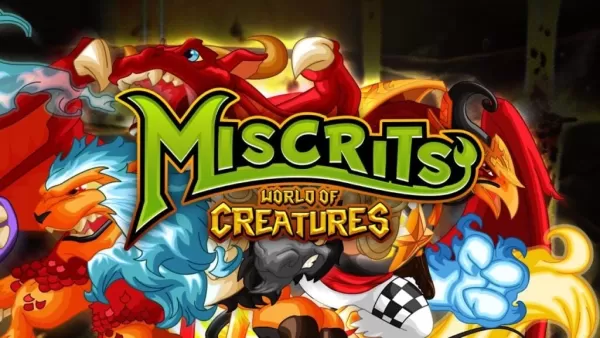
Android Release for RPG Miscrits: World of Creatures
Miscrits: World of Creatures, the beloved social monster-collecting game from the 2010s, has launched on Android by Lightning Ball Studios. Originally a browser-based hit from Broken Bulb Studios before its 2017 closure, the game has been completely
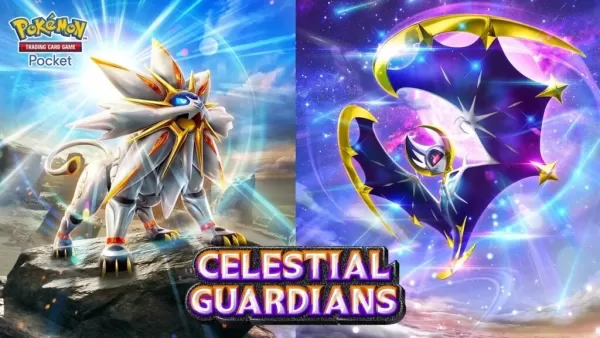
Alolan Mon Debuts in Pokémon TCG Pocket
Pokémon TCG Pocket is officially launching its Celestial Guardians expansion this month. The global release is set for April 30th, 2025, transporting players to the Alola region where they’ll explore beneath its radiant Sun and shimmering Moon.
What

Woochi the Wayfarer Preorder and DLC
Woochi the Wayfarer takes place in a fantasy reimagining of Korea’s Joseon era. Discover how to pre-order the game, its pricing, and whether any special editions or downloadable content are planned.
← Return to Woochi the Wayfarer main articleWoochi
Latest Games

Кто из нас?
Trivia丨13.6 MB

Squad Alpha - Action Shooting
Action丨598.77M

Return to the Cabin
Casual丨476.90M
Classic American Muscle Cars 2
Racing丨84.8 MB


Word Bubble
Word丨30.4 MB

LifeSimulator - Chinese Life
Word丨54.2 MB

Tasty Slot
Card丨24.70M
Trending Games
MORE +


Top News
MORE +
01
01-01
Call of Duty: Black Ops 6 Adds Fan-Favorite Modes
Call of Duty: Black Ops 6 receives classic game modes and map updates this week, addressing post-launch issues. The highly anticipated "Infected" mode arrives tomorrow, followed by the iconic "Nuketown" map on Friday, November 1st.
Infected and Nuketown Enhance Black Ops 6
Treyarch, the developer,
02
03-13
Top 10 LitRPG Books for 2025
Reading is my absolute favorite pastime. While I enjoy video games and TV, nothing quite compares to immersing myself in a captivating book series. My reading journey began with Harry Potter, branching out to sci-fi, fantasy, mysteries, and even some non-fiction. But my true literary passion ignite
03
04-08
Kingshot Beginner's Guide: Mastering Tower Defense Mechanics
Dive into the thrilling world of Kingshot, a multiplayer strategy game that masterfully combines precision shooting with tactical warfare. Set against the backdrop of a medieval fantasy realm, you step into the shoes of a powerful monarch, locked in a fierce struggle for supremacy over rival kingdom
04
03-05
Helldivers 2: Superstore Rotation (All Armor & Items)
Helldivers 2 Superstore: A Complete Guide to Armor and Item Rotations
Equipping the right armor is crucial in Helldivers 2. With diverse armor types (light, medium, heavy), unique passives, and varying stats, choosing your gear is a strategic decision. The Superstore offers exclusive armor sets an
05
04-16
Azure Latch Codes (March 2025)
Last updated on March 28, 2025 - Added new Azure Latch codes!Are you looking to boost your in-game cash to splurge on animations, styles, emotes, and more in Azure Latch? Look no further. Here, you'll discover all the latest working codes for the game. Don't delay—redeem them quickly and enjoy that
Topics
More +