Asus ROG Ally: TV & Monitor Connection Guide
Author : Nora
Mar 12,2025
The ROG Ally, a compelling Steam Deck alternative, exploded onto the scene in 2023. Its Windows OS grants access to an even wider game library. The 2024 ROG Ally X model boasts upgraded internals and improved ergonomics thanks to enhanced cooling and a more comfortable grip.
While its portability is a key selling point, enjoying games on a larger screen is equally appealing. Both ROG Ally models offer external display connectivity for big-screen gaming on TVs or monitors. Below, we detail how to connect your ROG Ally, providing step-by-step instructions and recommendations.
Connecting with an Adapter
Connecting your ROG Ally to a TV or monitor is straightforward using an adapter. From compact dongles to direct cables, and including the official ROG Gaming Charger Dock, many options exist.
What You'll Need
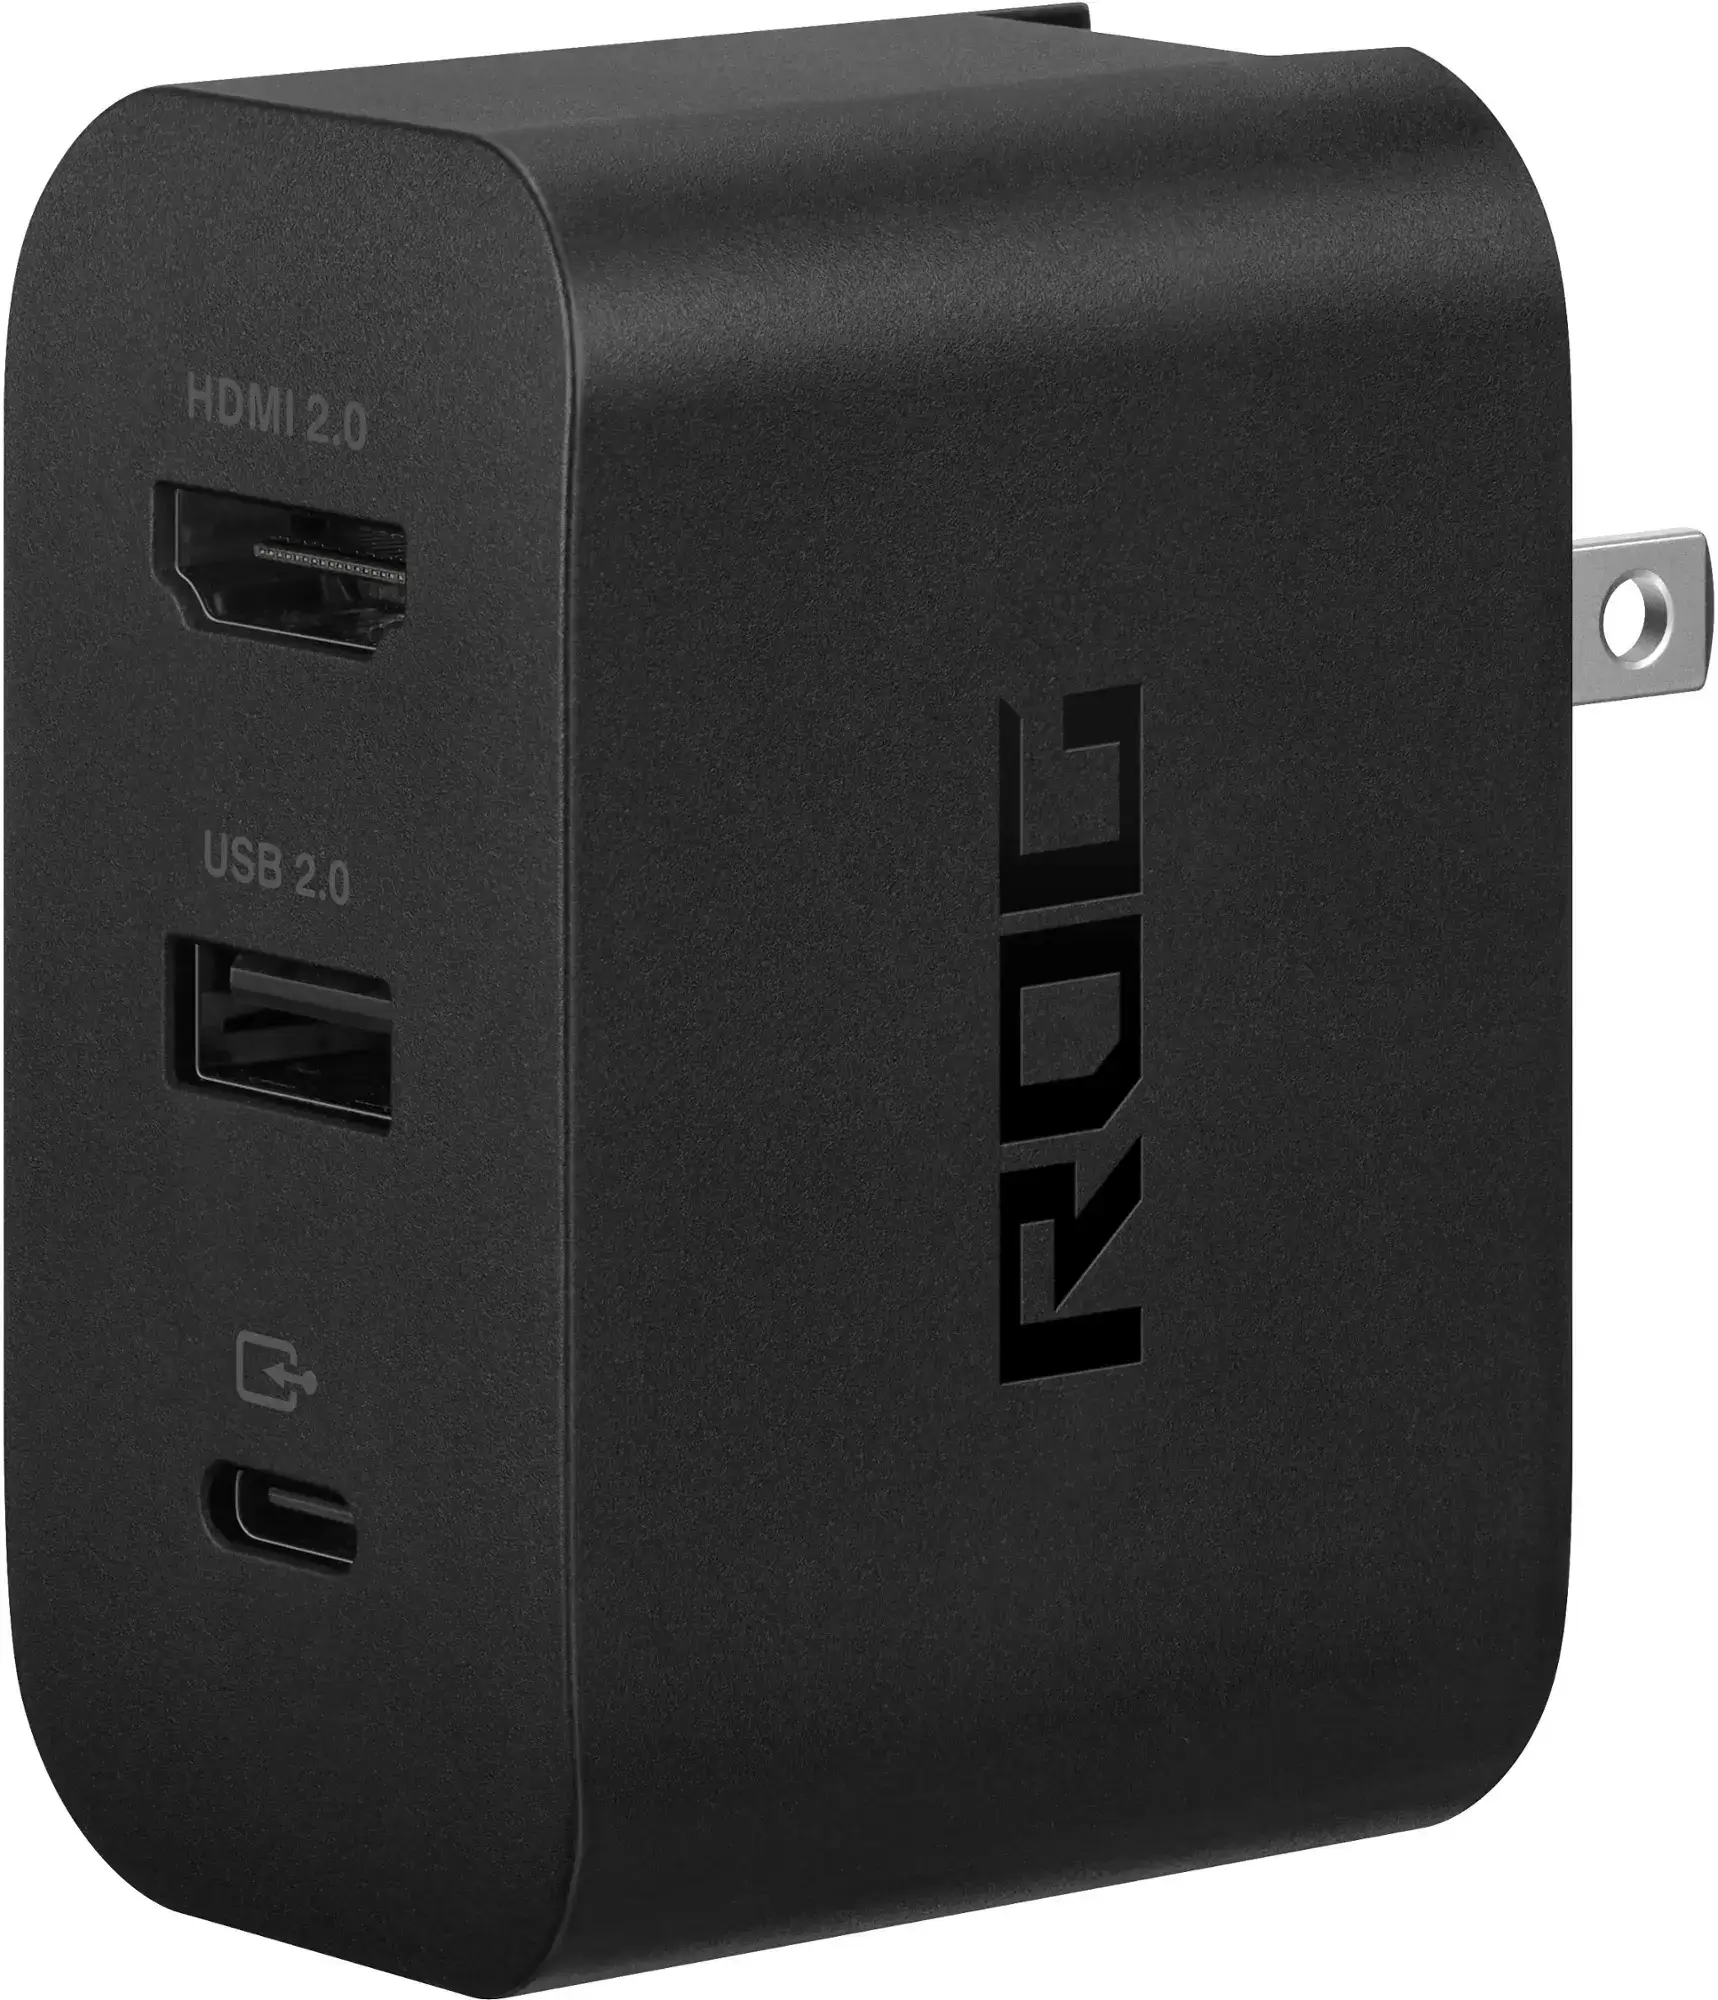
ASUS ROG 65W Charger Dock
The ASUS ROG Gaming Charger Dock offers a space-saving solution, doubling as a charger. Simply connect using a USB-C and HDMI cable. It also includes a USB-A port for mouse/keyboard connectivity.
Alternatively, a third-party USB-C to HDMI adapter connects directly to the ROG Ally's USB-C port. Connect an HDMI cable to the adapter and your TV/monitor. A USB-C to HDMI cable offers a single-cable solution. Some adapters even feature a USB-C passthrough port for charging the Ally while connected; this requires an additional USB-C cable and power adapter.
How to Connect: Step-by-Step Instructions
- Plug a USB-C to HDMI adapter (or cable) into the ROG Ally's top USB-C port. For the ROG Gaming Charger Dock, connect a USB-C cable from the Ally to the dock's USB-C port.
- Connect an HDMI cable from the adapter (or dock) to your TV/monitor's HDMI port. For a direct USB-C to HDMI cable, connect directly to the TV/monitor.
- (Optional) If your adapter has a passthrough USB-C port, connect your Ally's power adapter for charging.
- Power on the ROG Ally; it should automatically detect and output the video signal.
- Switch your TV/monitor's input to the correct HDMI input.
Connecting with a Docking Station
For a Nintendo Switch-like experience, consider a docking station. While no official ROG Ally dock exists (excluding the ROG Gaming Charger Dock), many third-party options are available, offering a stand for your Ally while charging and connecting to your TV/monitor.
What You'll Need
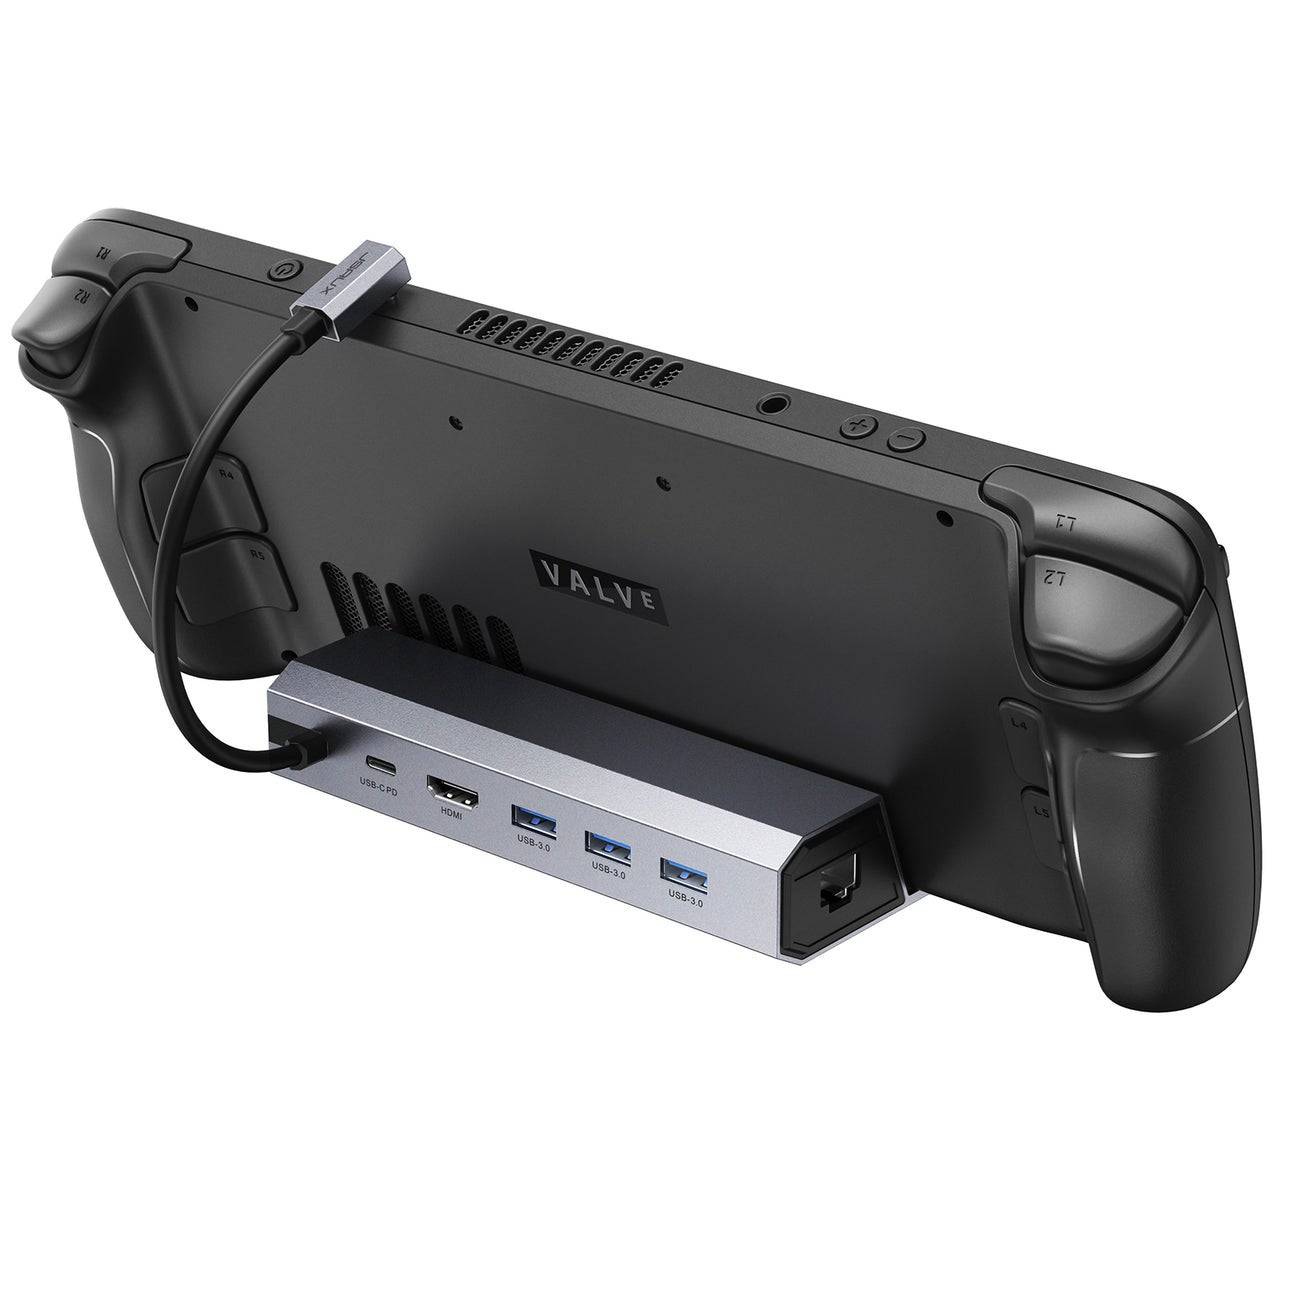
JSAUX Docking Station HB0603
This lightweight, compact dock offers 100 watts of power for fast charging and multiple ports, also serving as a stand.
Basic docks typically include an HDMI port and a USB-C passthrough charging port. More advanced docks offer additional USB ports, Ethernet ports, SD card slots, and even DisplayPort for multiple displays.
How to Connect: Step-by-Step Instructions
- Place your ROG Ally in the dock.
- Connect the USB-C power cord to the Ally's top USB-C port.
- Connect your Ally's power adapter to the dock's USB-C charging port.
- Connect an HDMI cable from the dock to your TV/monitor's HDMI port.
- Power on the ROG Ally; it should automatically detect and output the video signal.
- Switch your TV/monitor's input to the correct HDMI input.
You'll Also Need a Controller
While mouse and keyboard connectivity is possible, a wireless controller offers the most comfortable big-screen gaming experience. The ROG Ally supports Bluetooth-enabled controllers. The following are recommended (compatibility also extends to Steam Deck controllers):
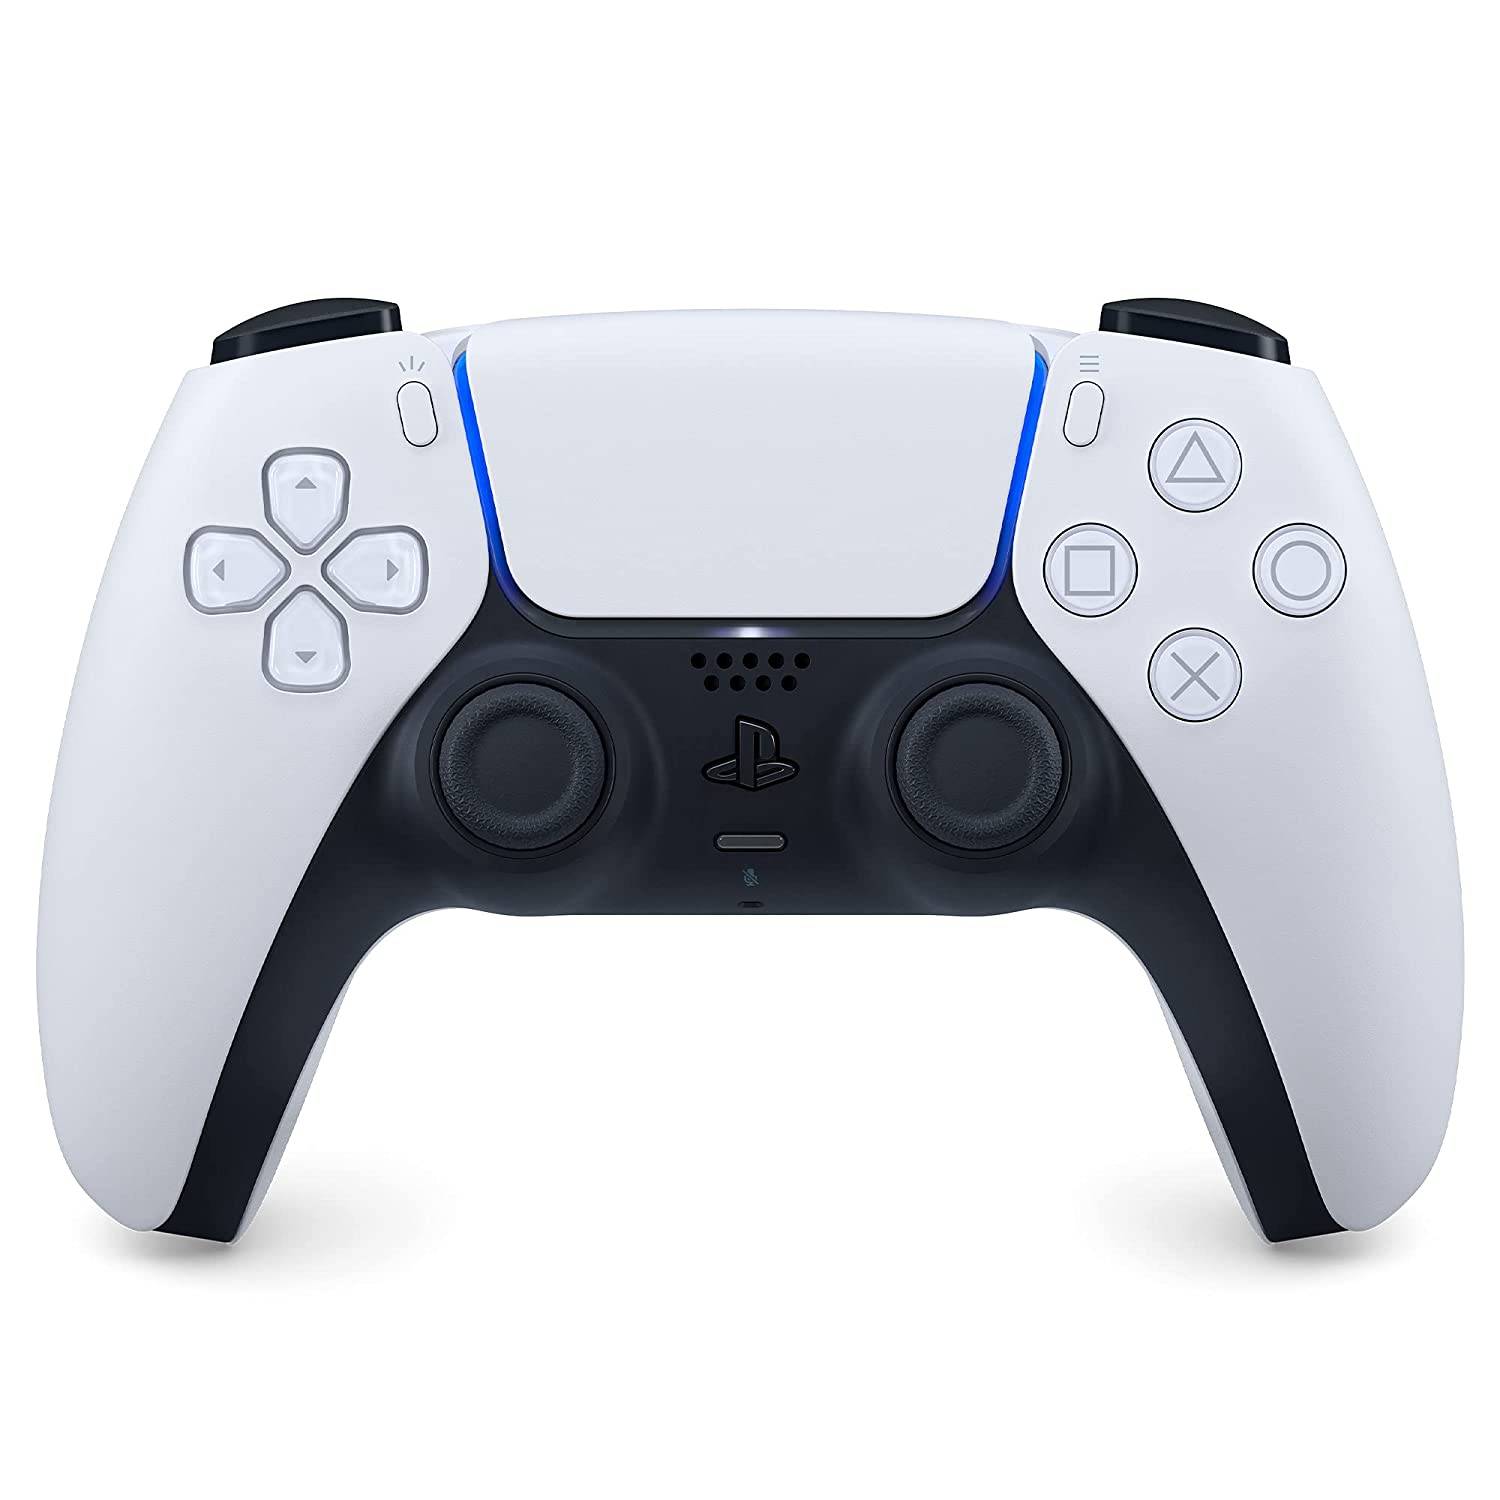
Sony DualSense
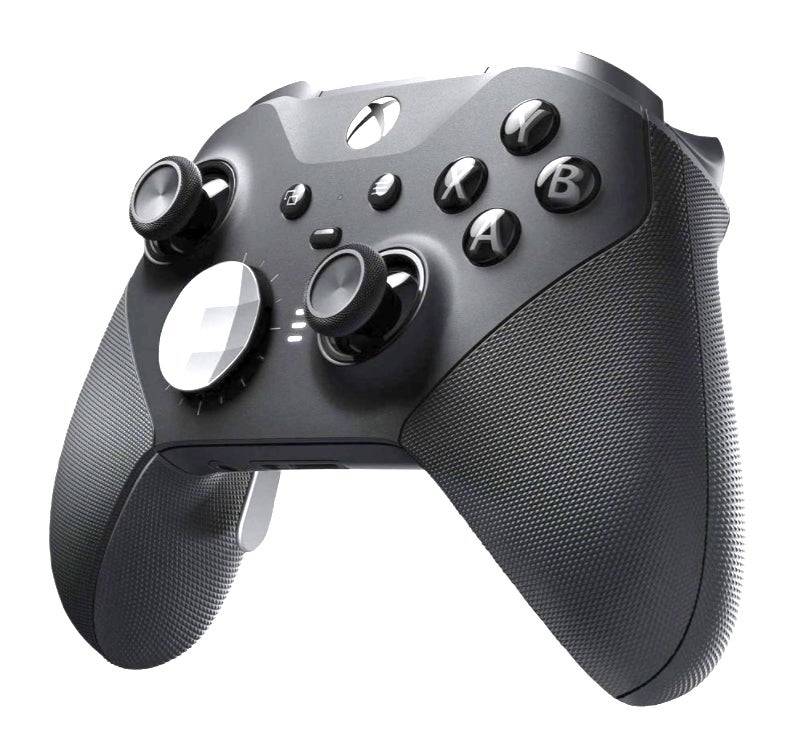
Xbox Elite Series 2 Controller
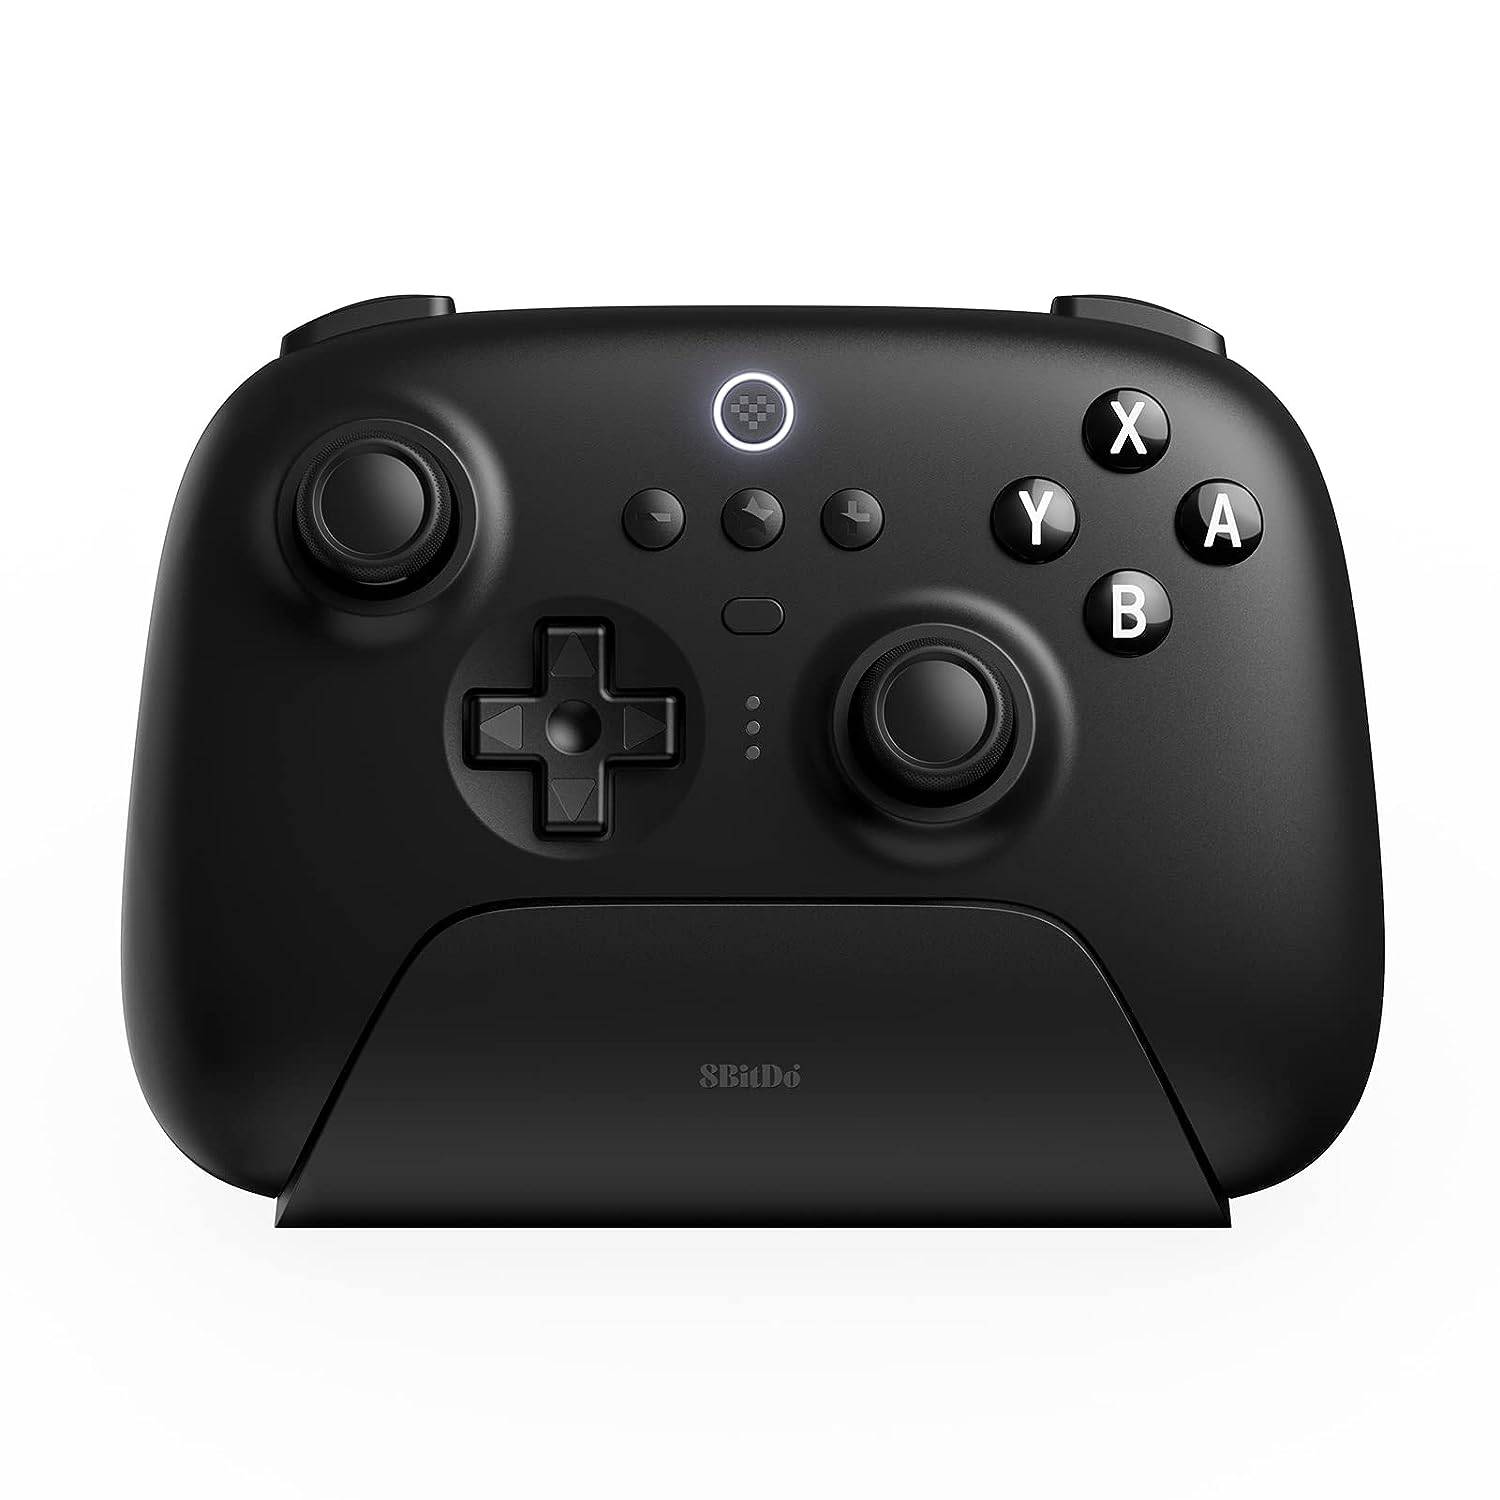
8BitDo Ultimate Controller
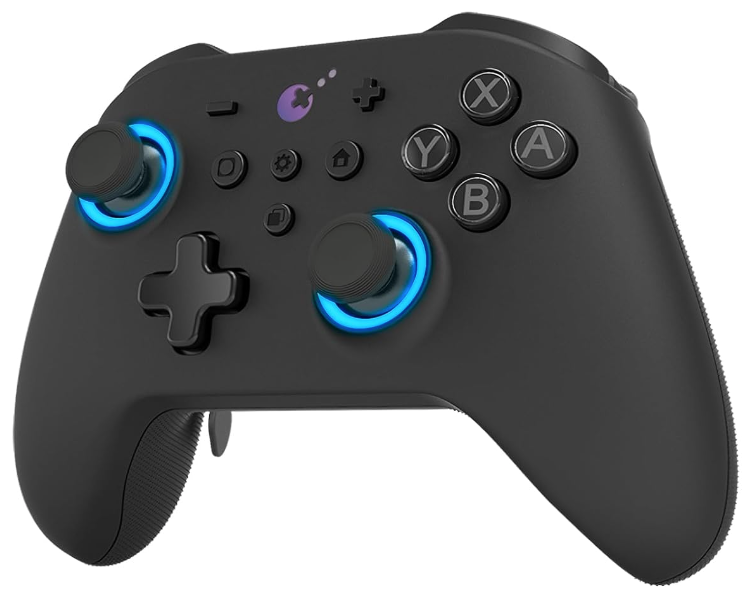
GuliKit KingKong 3 Max Controller
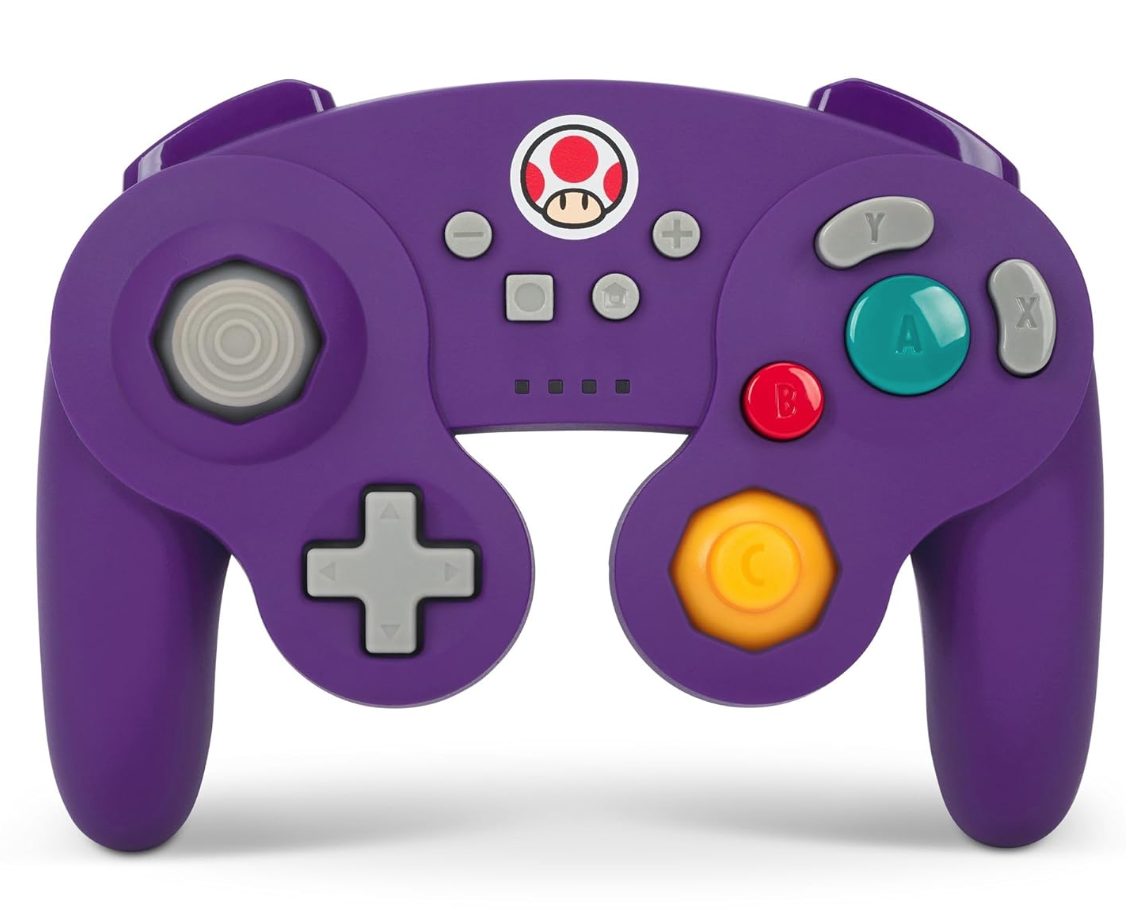
PowerA Wireless GameCube Style Controller
Consider first-party options like the DualSense, Xbox Wireless Controller, or Nintendo Switch Pro Controller, or numerous third-party alternatives. Some controllers use a 2.4GHz wireless connection (often with a USB adapter) for lower latency and better range than standard Bluetooth. Wired USB controllers are also an option for close proximity.
Latest Articles

Woochi the Wayfarer Preorder and DLC
Woochi the Wayfarer takes place in a fantasy reimagining of Korea’s Joseon era. Discover how to pre-order the game, its pricing, and whether any special editions or downloadable content are planned.
← Return to Woochi the Wayfarer main articleWoochi
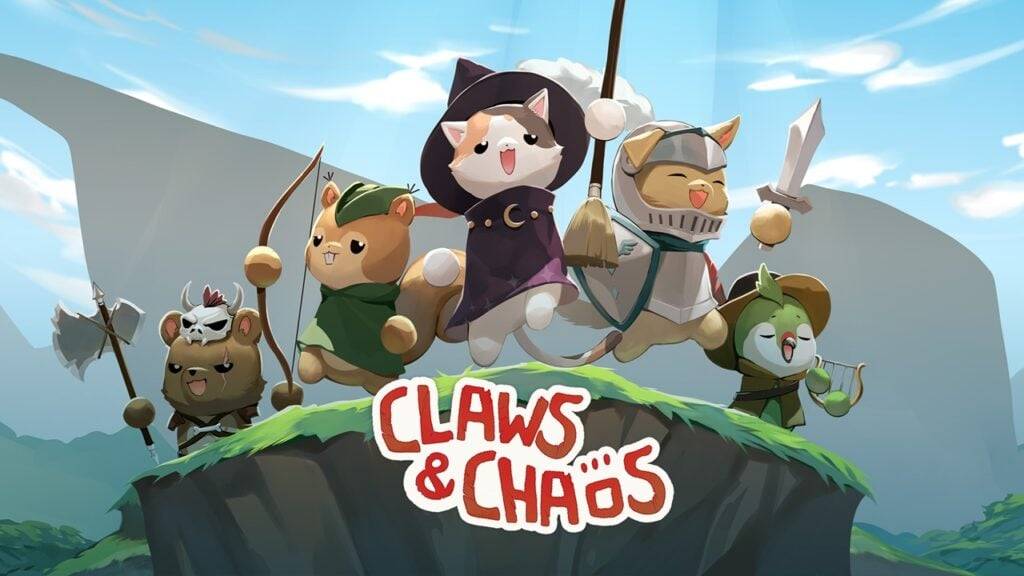
"New Auto-Chess Game Launches on Android with Unique Heroes"
King Chipmunk has truly embraced chaos, declaring all-out war! Claws and Chaos plunges players into a dystopian world where animals battle against impossible odds for their shot at salvation. This auto-chess strategy game comes from Mad Mushroom Medi
Gameplay of EA's New The Sims 'Concept' Appears to Leak Online, and It's Not Going Down Well With Fans
A video allegedly showing the next iteration of The Sims has surfaced online, sparking concern among fans about what it could mean for the beloved franchise.
Project Rene — a codename sometimes used interchangeably with The Sims 5, though EA insists

Wuthering Waves Debuts 5-Star Heroes in Update 2.1
Key Points SummaryPhoebe and Brant have been officially confirmed as the upcoming 5-Star Rinascita characters in Wuthering Waves Version 2.1.Lore and in-game appearances suggest Phoebe is likely a Spectro unit, while Brant is expected to wield a swor
Invincible Cast at IGN Live 2025: Killer Instinct, Authenticity, 3v3 Tag
One of the major announcements from the Xbox Showcase was the reveal of 'Invincible VS,' and we sat down with Skybound's Quarter Up studio team at IGN Live to discuss why this 3v3 tag fighter is the perfect adaptation for Robert Kirkman's superhero s

Matchcreek Motors Crafts Custom Cars Using Match-3 Gameplay
After developing multiple popular mobile racing games, Hutch Games is back with a unique twist. This time, they're introducing a puzzle element. Fear not, racing enthusiasts—they haven't strayed far from their roots. Automobiles and racing remain at
Latest Games

Antistress: Relaxing Toy Games
Simulation丨173.6 MB


PS2 ISO Games Pro Emulator
Strategy丨17.9 MB

Carrom Meta
Sports丨56.3 MB

Grau de Rua
Simulation丨290.2 MB

Gomu Huyền Thoại - Đại Chiến
Strategy丨665.6 MB
Trending Games
MORE +


Top News
MORE +

01
01-01
Call of Duty: Black Ops 6 Adds Fan-Favorite Modes
Call of Duty: Black Ops 6 receives classic game modes and map updates this week, addressing post-launch issues. The highly anticipated "Infected" mode arrives tomorrow, followed by the iconic "Nuketown" map on Friday, November 1st.
Infected and Nuketown Enhance Black Ops 6
Treyarch, the developer,
02
03-13
Top 10 LitRPG Books for 2025
Reading is my absolute favorite pastime. While I enjoy video games and TV, nothing quite compares to immersing myself in a captivating book series. My reading journey began with Harry Potter, branching out to sci-fi, fantasy, mysteries, and even some non-fiction. But my true literary passion ignite
03
04-08
Kingshot Beginner's Guide: Mastering Tower Defense Mechanics
Dive into the thrilling world of Kingshot, a multiplayer strategy game that masterfully combines precision shooting with tactical warfare. Set against the backdrop of a medieval fantasy realm, you step into the shoes of a powerful monarch, locked in a fierce struggle for supremacy over rival kingdom
04
03-05
Helldivers 2: Superstore Rotation (All Armor & Items)
Helldivers 2 Superstore: A Complete Guide to Armor and Item Rotations
Equipping the right armor is crucial in Helldivers 2. With diverse armor types (light, medium, heavy), unique passives, and varying stats, choosing your gear is a strategic decision. The Superstore offers exclusive armor sets an
05
04-16
Azure Latch Codes (March 2025)
Last updated on March 28, 2025 - Added new Azure Latch codes!Are you looking to boost your in-game cash to splurge on animations, styles, emotes, and more in Azure Latch? Look no further. Here, you'll discover all the latest working codes for the game. Don't delay—redeem them quickly and enjoy that
Topics
More +